
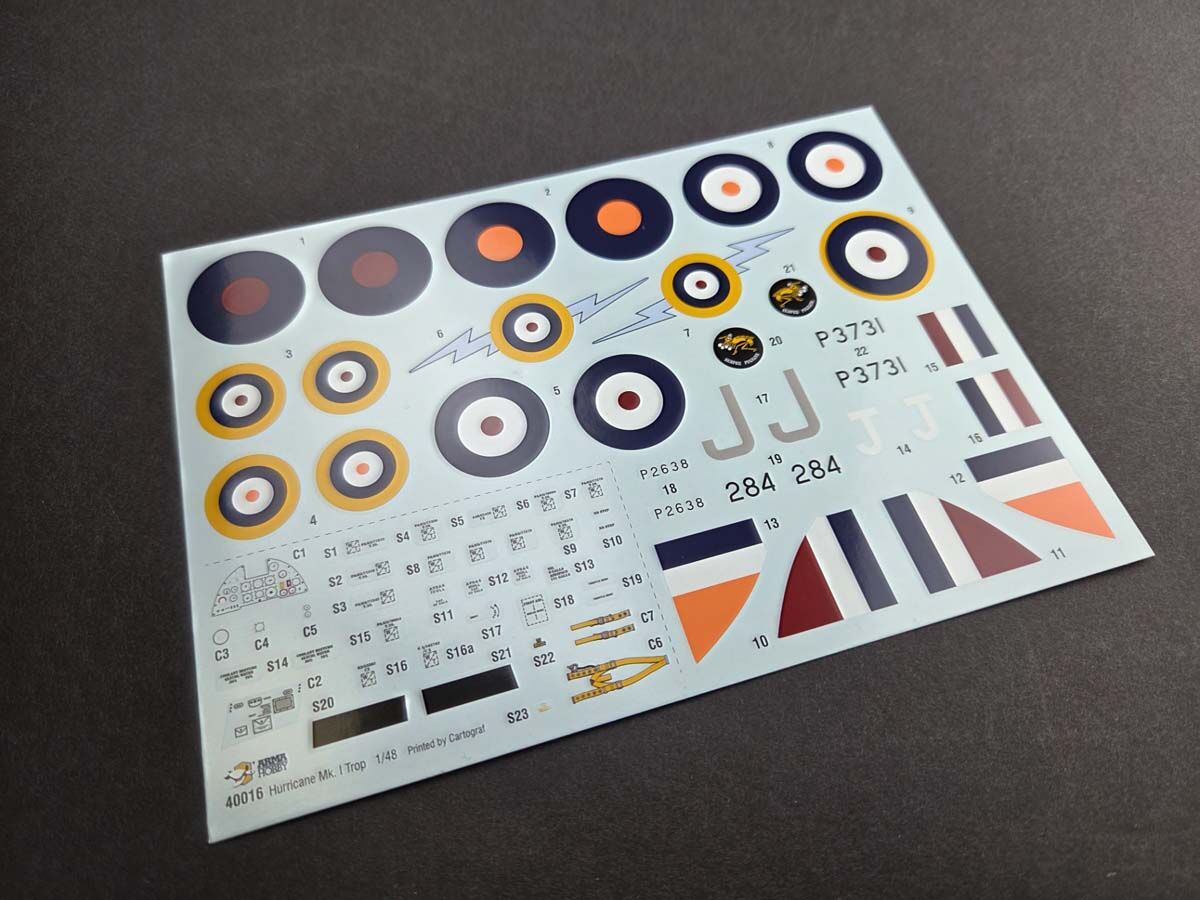
How to Apply Model Decals – A Practical Guide and the Differences Between Techmod and Cartograf
Decals can save a model — or ruin the final result in just a few minutes. Applied well, they look like painted markings. Applied badly, they can silver, wrinkle, and spoil the finish even on a beautifully built model.
The good news is that most decal problems are easy to avoid. You just need to know a few basic rules and remember that different decal manufacturers use different technologies, so not every sheet behaves the same way.
How to Apply Model Decals Without Problems – A Practical Guide
In this guide, we’ll show you how to apply decals smoothly and successfully. We’ll also explain what to expect from different types of decals, including those used in Arma Hobby kits.
How to Prepare a Decal
Before you begin, carefully cut the decal from the sheet as close to the marking as practical. Then dip it briefly into warm — preferably slightly hot — water. A few seconds is usually enough.
After removing it from the water, place the decal on a paper towel or other absorbent surface. During this time, the water activates the adhesive and evenly moistens the backing paper.
If the decal curls while soaking, don’t worry — that is perfectly normal. After a moment, it will usually flatten out on its own. Once the decal slides freely on the backing paper, it is ready to apply.
Why Do Decals Silver?
The usual explanation is that the model surface is too matt or too rough. That is true — but only partly.
The real issue appears when the decal adhesive does not make full contact with the model surface. Tiny pockets of trapped air remain underneath the clear film, creating the silvering effect.
That’s why the common advice to apply decals only over a glossy surface is good, but incomplete. The real key is making sure the decal can bond properly across its full area.
How to Prevent Silvering
1. Apply decals over a glossy surface
This is the classic and effective solution. Gloss varnish helps the decal make better contact with the surface and reduces trapped air under the film.
2. Trim the clear carrier film
If possible, carefully trim away excess clear film around the marking. Less carrier film means less chance of silvering.
Be careful, though — cutting too aggressively can damage the printed marking or leave rough edges.
3. Add extra adhesive if needed
In more difficult cases, you can help the decal by applying a thin layer of extra adhesive underneath it, such as diluted PVA glue.
How to Move a Decal Easily on the Model
This is often overlooked, but very important. Large decals or thin film can curl, move unevenly, or catch on rivets and panel lines.
1. Slide the decal into place where it belongs
The safest method is to position the backing paper exactly where the decal should go, then gently slide it off with a brush while adjusting it into place.
2. Use a slippery surface
Plain water with a tiny drop of detergent works well. It helps the decal glide across the surface, especially larger markings.
Some modelers also use saliva — effective, though not everyone likes that method.
3. Work calmly
Rushing is the fastest way to fold a decal or damage it unnecessarily.
How to Make Decals Settle into Panel Lines and Rivets
1. Use decal solutions
Special decal setting solutions soften the film and help it conform to the surface.
2. Apply gentle pressure
A soft cotton bud, makeup sponge, or damp swab can remove excess water and press the decal down gently.
3. Cut panel lines after drying
If the decal crosses a panel line, let it dry first, then carefully cut along the line with a sharp blade and reapply solution.
4. Rivets and fine detail
For heavily riveted surfaces, a very soft toothbrush used gently can help the decal settle.
What to Do After the Decal Has Dried
1. Inspect the result
Check whether the decal has settled properly across the surface.
2. Correct details if needed
If necessary, apply more decal solution or carefully cut along panel lines again.
3. Clean the surface
Before clear coating, wipe the area gently with a damp cotton bud or soft swab to remove glue residue and stains.
4. Apply clear varnish
Once everything is fully dry, protect the decal with a coat of clear varnish.
How to Hide Decal Edges
Even a well-applied decal can leave a visible edge.
1. Seal the model with clear varnish.
2. Once dry, very gently smooth the edge with fine abrasive paper or polishing sponge.
3. Apply another thin coat of varnish.
Cartograf vs Techmod – What to Expect
Cartograf and Techmod are among the best decal producers in Europe — and possibly in the world.
Cartograf is known for extremely sharp fine-detail printing. Their decals are soft, respond well to solutions, and settle beautifully over rivets and panel lines.
Techmod decals are usually stiffer and easier to position. They are less likely to fold over while moving, which many modelers appreciate.
There is no single perfect solution for everything. The best approach is simply to understand what type of decal you are using and adapt your technique.
Decals in Arma Hobby Kits and Aftermarket Options
Arma Hobby kits use different decal types, including those produced by Techmod and Cartograf, selected depending on the project and desired final effect.
The Arma Hobby store also offers separate decal sets from manufacturers such as Techmod, Cartograf / Exito Decals, and Model Maker.
The Most Important Final Tip
The best results do not come from one “magic solution”, but from combining a well-prepared surface, calm work, understanding your decal type, and a little patience.
After a few models, everything becomes much easier.
Useful Tools for Working with Decals
- decal solutions,
- precision knife,
- soft cotton buds,
- tweezers,
- polishing sponges and fine abrasive papers,
- clear varnish.
Do You Have Your Own Decal Tips?
Every modeler develops their own tricks over time. If you have a reliable way to stop silvering, a favorite decal solution, or a method for applying large markings, share it in the comments below.
If you have questions, feel free to ask as well. We’ll gladly join the discussion and help where we can.
Featured products

Microscale MI-1 Set Setting Solution!

Microscale MI-2 Sol Setting Solution !

Tamiya 87102 Mark Fit !

Tamiya 87135 Mark Fit (Strong) !
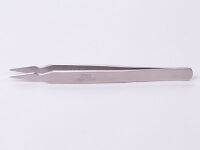
Tamiya 74052 Decal Tweezers !
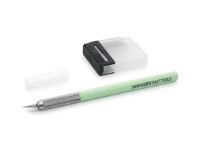
Tamiya 69947 Modeler's Knife (Mint Green).

Tamiya 87233 Sanding Cloth #1500.
Tamiya 87234 Sanding Cloth #2000.
Tamiya 87235 Sanding Cloth #3000.

Tamiya 87070 Polishing Compound (Finish).

ED72007 - Yak Attack - Yakovlev Yak-1b 1/72 scale
TCH72006 Hawker Hurricane Mk I decals
TCH72013 Hawker Hurricane Mk I decals
TCH72023 British National Insignias - Hawker Hurricane decals
TCH72071 Hurricane Stencils Decals
TCH72120 PZL P.11c decals
TCH72123 PZL P.11c decals
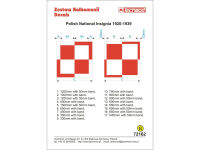
TCH72162 Polish National Insignia 1920-1939 decals
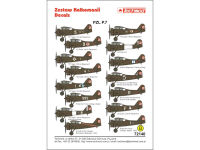
TCH72140 PZL P.7a Decal Set
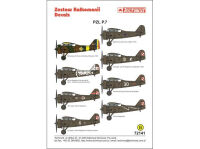
TCH72141 PZL P.7a Decal Set
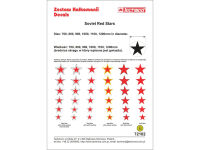
TCH72102 Soviet Red Stars decals
TCH72073 Hawker Hurricane IIc decals
TCH72025 General Motors FM-2 Wildcat decals
TCH72026 General Motors Wildcat VI decals
TCH72032 General Motors FM-2 Wildcat decals
TCH72410 U.S. Insignia decals
TCH48057 - PZL P.11c - decals
TCH48058 - PZL P.11c - decals
TCH48059 - PZL P.11c - decals
TCH48060 - PZL P.11c - decals
TCH72004 Grumman F4F-4 Wildcat decals
TCH72021 North American P-51 Mustang III decals
TCH48090 - PZL P.11c - decals
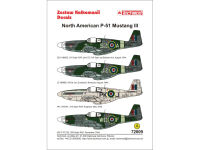
TCH72009 North American P-51 Mustang III decals
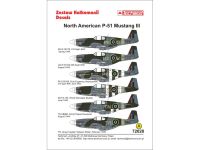
TCH72028 North American P-51 Mustang III decals
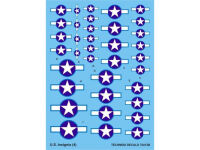
TCH72413 U.S. Insignia Decals

TCH72116 - Japanese Hinomaru decals
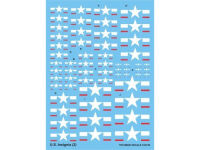
TCH72411 U.S. Insignia Decals
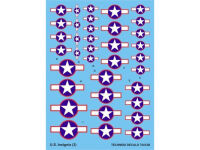
TCH72412 U.S. Insignia Decals
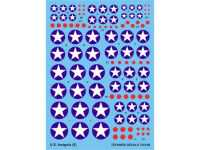
TCH72414 U.S. Insignia Decals
TCH32014 Clear decal, two big sheets

TCH72079 Propeller Stencils Decals
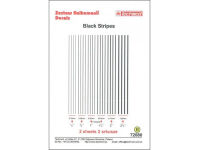
TCH72080 Black Stripes Decals

TCH72082 Yellow Stripes Decals

TCH72083 Red Stripes Decals

TCH72084 Silver Stripes Decals

TCH72085 Gold Stripes Decals
TCH72046 Clear Decal small sheets

TCH32040 White decal, two big sheets
TCH48116 Hawker Hurricane IIc!
TCH48033 North American P-51 Mustang III decals
TCH48046 Hawker Hurricane Mk I decals
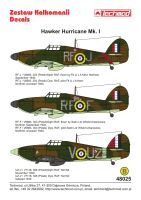
TCH48025 Hawker Hurricane Mk I decals
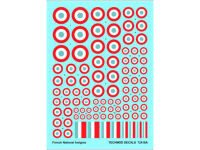
TCH72416 French National Insignia 1938-1942.

TCH48021 Soviet Red Stars WWII

TCH48020 Soviet Red Stars WWII

TCH48074 Finnish Air Force Swastikas and Serials 1944-45

TCH48073 Finnish Air Force Swastikas and Serials 1934-44
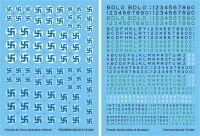
TCH72130 Finnish Insignia 1934-45

TCH48028 North American P-51 Mustang III decals

TCH48002 North American P-51 Mustang III decals

HTK-XP09 Gloss Lacquer Clear Coat 60 ml!

HTK-XP09 Gloss Lacquer Clear Coat 17 ml!

HTK-XP07 Matt Lacquer Clear Coat 60 ml!

HTK-XP07 Matt Lacquer Clear Coat 17 ml!

HTK-XP08 Satin Lacquer Clear Coat 60 ml!

 Polish